
A Nourishing Amish Table
Chicken and Rivels Soup, whole grain bread, raw cheese, fermented vegetables, and shoofly pie


My fascination with the Amish began on a road trip Philip and I took as newlyweds.
We drove up to Lancaster, Pennsylvania to attend our dear friend’s wedding — right in the heart of Amish country. I remember the moment the landscape changed. The roads narrowed. The farms grew quieter and it’s just such a beautiful wide open landscape. Horse and buggies moved along the shoulder at their own unhurried pace. Fields stretched out in every direction, tended and orderly and beautiful in the way that only hand-worked land ever is. I was immediately and completely captivated.

I have always loved the days of yesteryear. The slower pace. The handmade things. The way life organized itself around the land and the seasons and the people right in front of you rather than a screen. Seeing it actually lived — not as a museum exhibit but as a real, breathing, daily life — did something to me that has never quite unwound.
Philip had his own Amish memories from childhood. His family would go to an Amish farm to help with the apple harvest — no electricity, no modern equipment, just hands and horses and the work itself. He described it the way people describe dreams they did not want to wake up from. The simplicity of it. The realness of it. Children running and working alongside adults. Meals earned by the morning’s labor. A way of life that felt ancient and steady and deeply right.
We carried those impressions with us for years.
And then we moved to our farm in Virginia — and discovered we had landed right next to one of the largest Amish communities in the state.

There are now over 170 Amish families in our area. You learn very quickly to watch for horse and buggies on the roads. You learn which farms sell what, which families build, which ones do woodworking, which ones run garden stands or supply local restaurants with their produce. They are woven into the fabric of this community in a way that makes everything better. Salt of the earth people in the most literal sense of that phrase.
About 15 years ago, one of my sweet Amish friends, Mary, was kind enough to have me over and show me her method of making sourdough bread. At the time I was selling sourdough bread at the local farmer’s market, and I was hungry to learn anything new. We sat in her kitchen and she moved through the process the way someone moves through something they have done ten thousand times — with no fuss, no measuring, no consulting anything. Just hands and memory and the knowledge passed down from the women who taught her. I took notes. I went home and tried to replicate it. It was better than anything I had learned from the internet and I have learned a great deal from the internet.
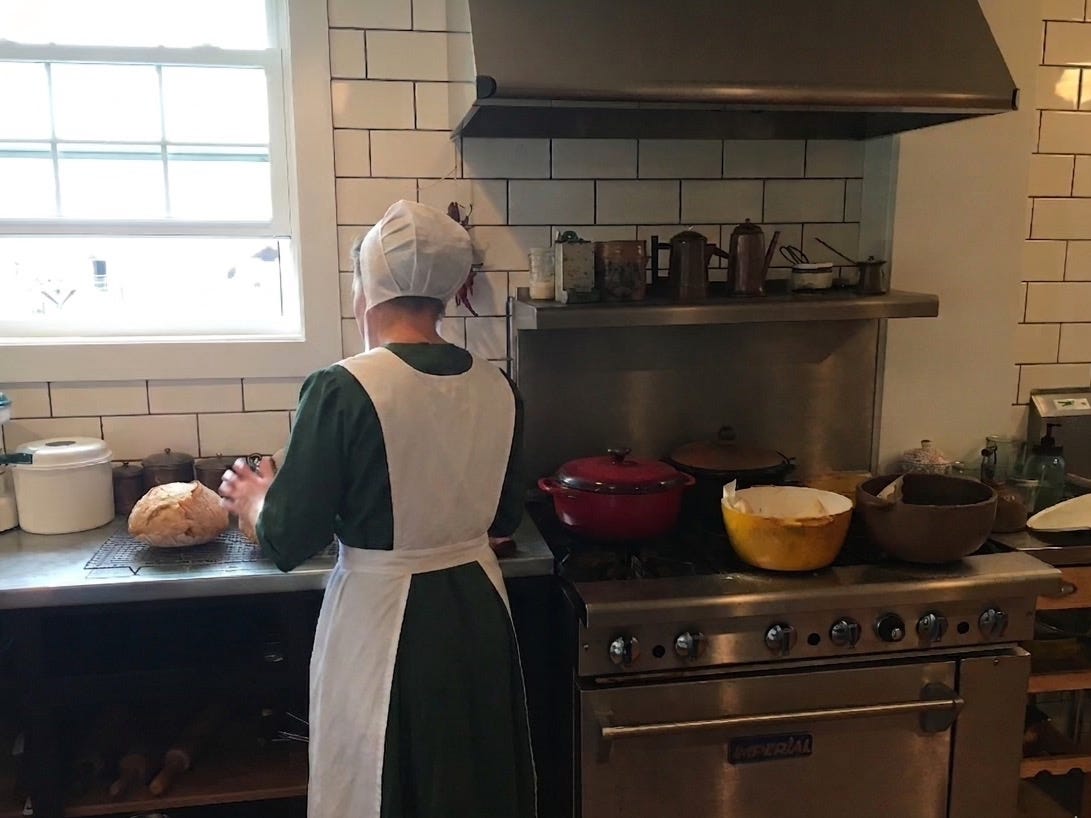
We can always learn more from each other than from a screen. That afternoon reminded me of that completely.
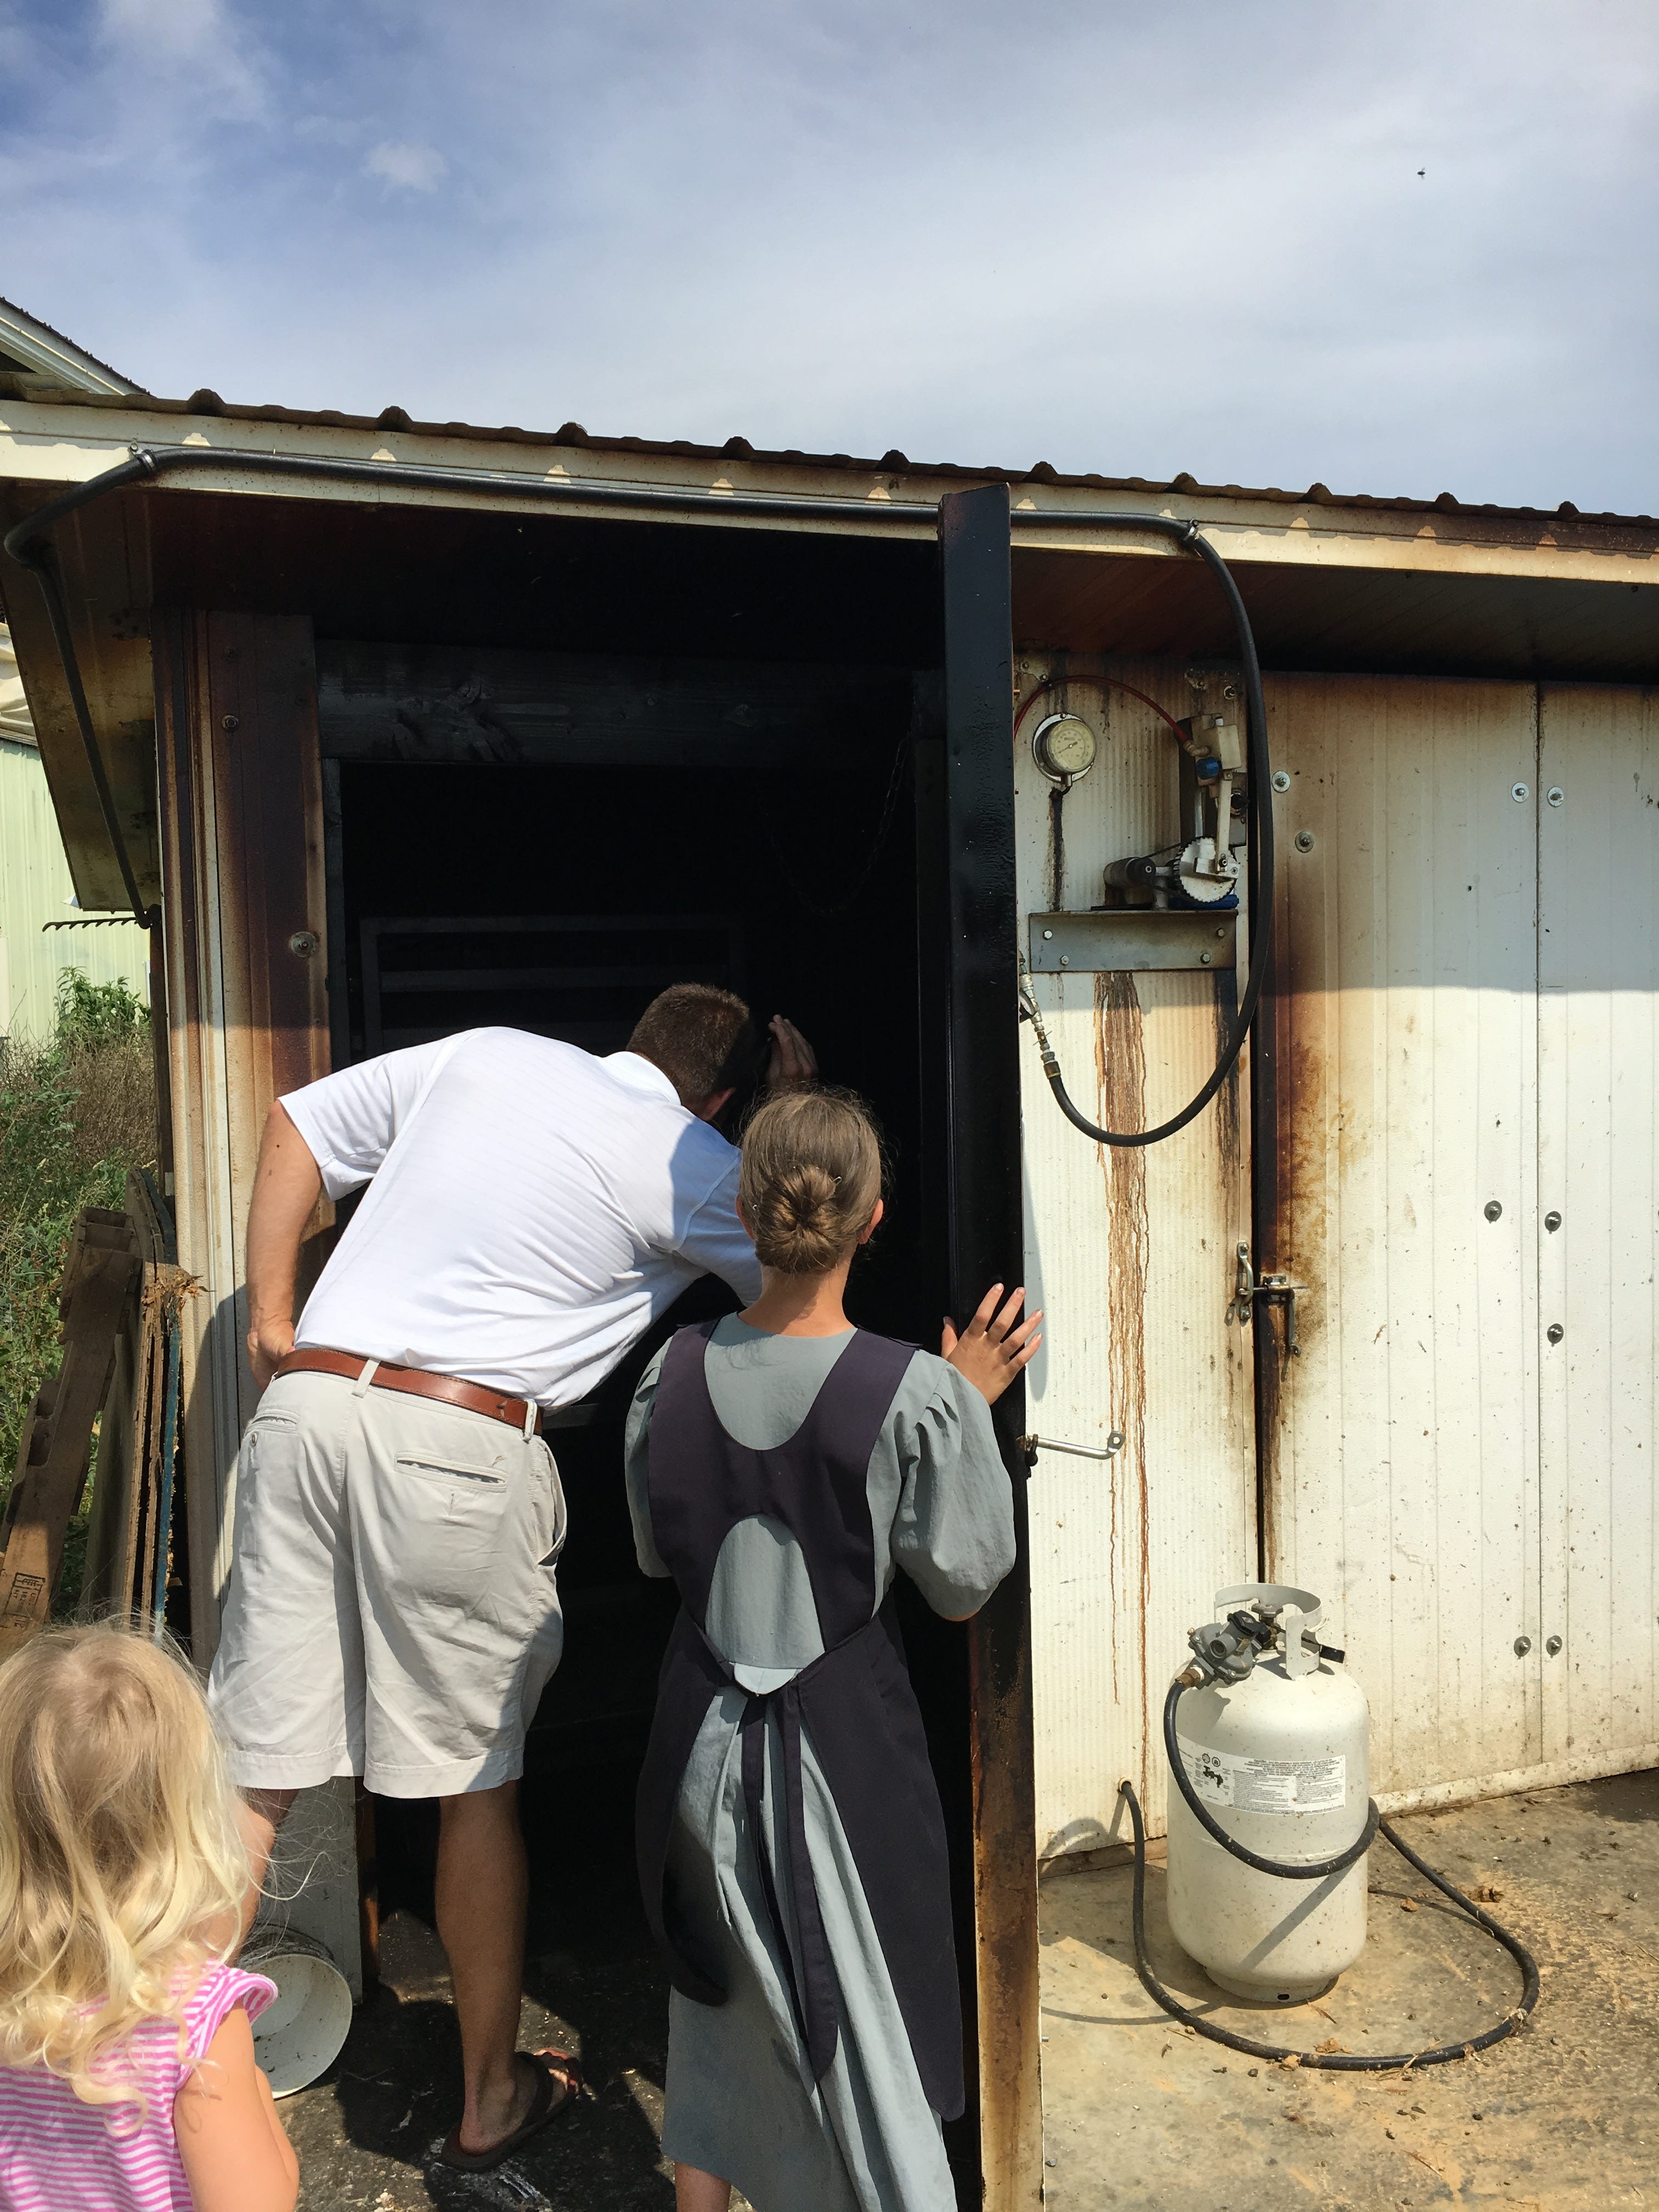
Over time we became deeply connected to an Amish farm in Pennsylvania — now dear friends of ours. We get our organ meat blends and raw cheeses from them. They work with an extraordinary dedication that is genuinely humbling to witness. The cheese is exceptional. The organ meat blends are some of the most nutrient-dense food we put in our bodies. These are people who understand intuitively what it means to raise food with integrity and to use every part of what the land and the animals provide.
Not all Amish eat the way their ancestors did. Like every traditional culture that has had contact with modern food systems, many Amish communities have incorporated white flour, refined sugar, and processed ingredients into their cooking in ways that have affected their health. The Amish are not immune to the same nutritional shifts that have affected everyone else — they have simply been more sheltered from them than most, and even partial shelter makes a meaningful difference.
But the Amish and Mennonite families we know and love — the ones I admire most deeply — are the ones who have held onto their ancestral food traditions with both hands. Whole foods. Whole grains properly prepared. Soaked and fermented. Organ meats. Raw dairy. Food grown and raised and preserved by their own hands. This is the tradition I glean from. This is the table I am trying to set.
And underneath all of it — underneath the food and the farming and the bread and the bone broth — is something that matters even more. Their heart for the Lord. Their commitment to simplicity. Their understanding that the good life is not complicated and does not require much — just good work, good food, good people, and a faith that holds everything together.
That is the Amish I admire. That is the meal I am sharing here.
Chicken and Rivels Soup Serves 6 to 8 — Begin in the morning
Rivels are tiny rustic dumplings dropped directly into hot broth — irregular, humble, and completely extraordinary. The word comes from the Pennsylvania Dutch and has no real translation. You will understand it the moment you taste it. The broth is the whole foundation — a whole chicken simmered for hours until it becomes true bone broth, deeply golden and rich with collagen and minerals.
Ingredients — The Broth and Chicken
1 whole chicken — the best quality you can find
3 carrots, roughly chopped
3 stalks celery, roughly chopped
1 large onion, quartered
4 to 5 cloves garlic, smashed
1 tbsp raw apple cider vinegar (draws minerals from the bones)
2 sprigs fresh thyme
2 bay leaves
1 tsp sea salt
Water to cover — about 12 cups
Ingredients — The Rivels
1 cup freshly milled whole wheat flour
1 large egg
1/4 tsp sea salt
2 to 3 tbsp whole milk or water — just enough to bring it together
Method
1. Make the bone broth Place the whole chicken in your largest pot. Add the carrots, celery, onion, garlic, apple cider vinegar, thyme, bay leaves, and salt. Cover completely with cold water. Bring to a gentle simmer over medium heat — do not boil hard. Skim any foam that rises in the first 30 minutes. Reduce to the lowest simmer you can manage and cook uncovered for 3 to 4 hours. The longer it simmers the richer and more golden the broth becomes. The apple cider vinegar works quietly the whole time drawing minerals and collagen from the bones.
2. Remove and shred the chicken Lift the whole chicken out of the broth carefully — it will be falling apart. Let cool slightly then remove all the meat from the bones, shredding into generous pieces. Discard the skin and bones or return the bones to the pot and simmer another hour for even deeper broth. Strain the broth through a fine mesh strainer and return to the pot. Discard the cooked vegetables.
3. Make the rivels In a bowl combine the freshly milled whole wheat flour and salt. Make a well in the center and crack in the egg. Add milk or water a tablespoon at a time and mix with a fork until a rough, slightly sticky dough comes together — it should be shaggy and irregular, not smooth. Whole grain flour absorbs liquid more slowly so let it rest 5 minutes before deciding if it needs more liquid.
4. Drop the rivels Bring the strained broth to a gentle boil. Using two forks or your fingers tear off small irregular pieces of the rivel dough — about the size of a large pea — and drop them directly into the simmering broth. They will be uneven and rough and that is exactly right. Cook 8 to 10 minutes until the rivels are cooked through and slightly chewy. They will puff slightly and absorb some of the broth.
5. Finish Return the shredded chicken to the pot. Add fresh carrots and celery if you want more vegetables — cook 5 to 8 minutes until just tender. Taste and adjust salt generously. Finish with fresh parsley. The broth should be deeply golden, slightly thick from the starch of the rivels, and taste like something that has been cooking all day — because it has.
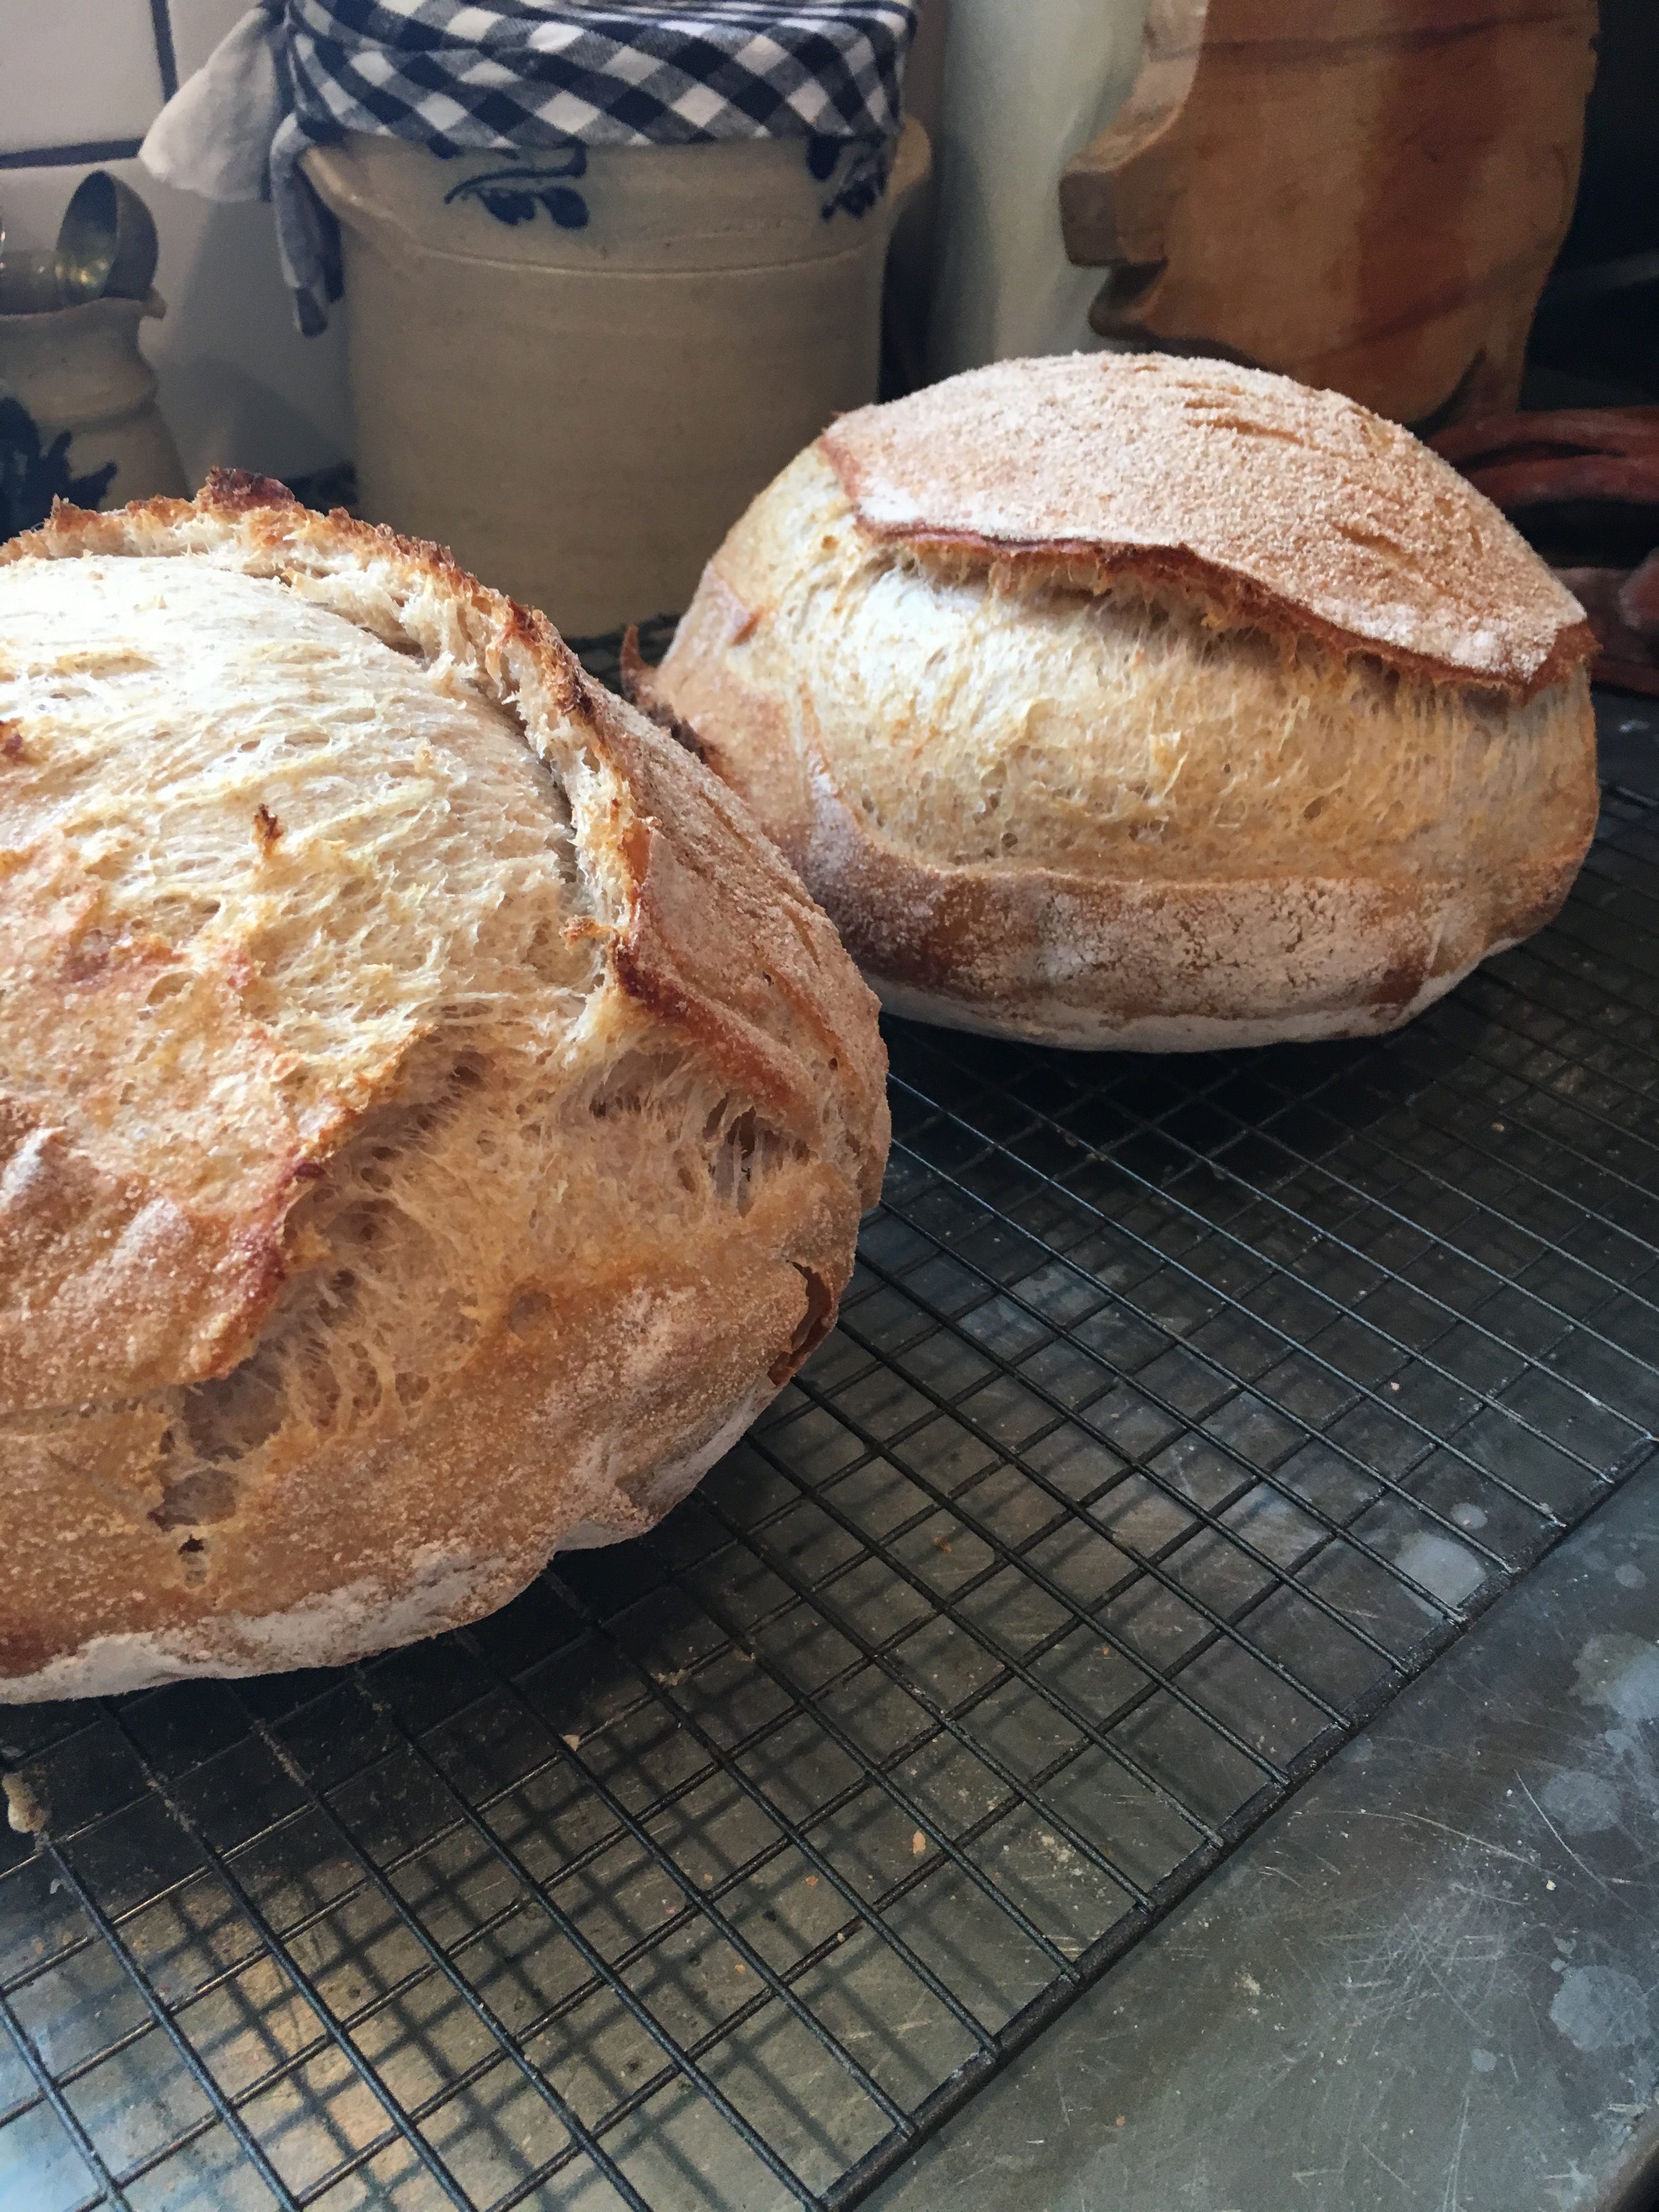
Whole Grain Amish Bread Makes 2 loaves — Begin 2 hours before serving
Slightly sweet, deeply nourishing, and the kind of bread that makes everything better. Made with freshly milled whole wheat, raw milk, real butter, and honey. Nothing from a bag or a box. I have the recipe from an Amish cookbook I got in PA years ago.
Ingredients
4 cups freshly milled whole wheat flour — hard red or hard white wheat
2 1/4 tsp active dry yeast or instant yeast
1 cup warm raw milk — about 110°F
1/4 cup warm water
3 tbsp raw honey
3 tbsp good butter, softened
1 1/2 tsp sea salt
1 egg, beaten — for brushing the top
Method
1. Activate the yeast Combine warm milk, warm water, and honey in a large bowl. Sprinkle yeast over the top and let sit 5 to 10 minutes until foamy and fragrant. If it does not foam your yeast is not active — start again with fresh yeast.
2. Mix the dough Add the softened butter and salt to the yeast mixture. Add the freshly milled flour one cup at a time, mixing as you go, until a soft dough forms. Whole grain dough will feel stickier and denser than white flour dough — do not add too much extra flour. Turn onto a lightly floured surface and knead 8 to 10 minutes until smooth and elastic. Whole grain takes a little longer to develop than white flour — be patient.
3. First rise Place in a buttered bowl, cover with a clean towel, and let rise in a warm place 1 to 1 1/2 hours until doubled. Whole grain rises slightly more slowly than white flour — watch the dough not the clock.
4. Shape and second rise Punch down gently. Divide into two equal pieces and shape each into a loaf. Place in buttered loaf pans. Cover and let rise 45 minutes to 1 hour until the dough crowns above the rim of the pan.
5. Bake Preheat oven to 375°F. Brush the tops with beaten egg for a golden crust. Bake 30 to 35 minutes until deeply golden and the loaf sounds hollow when tapped on the bottom. Cool on a wire rack at least 20 minutes before slicing. Serve warm with real butter.
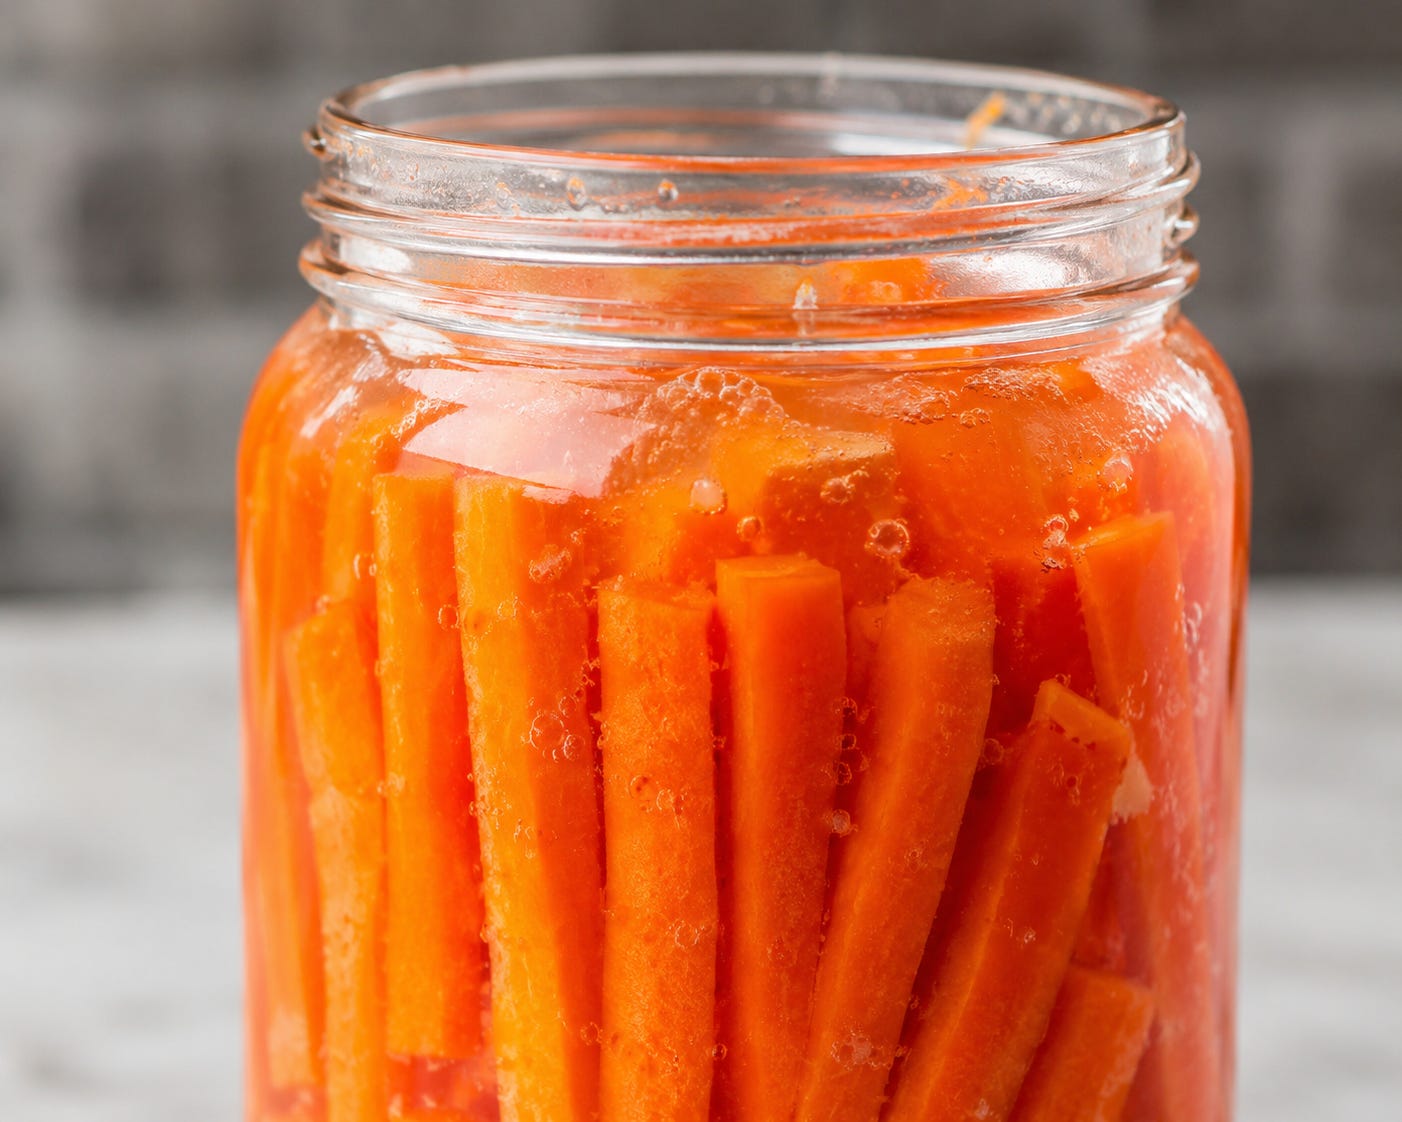
Fermented Carrots Makes 1 quart jar — Begin 3 to 5 days before serving
Ingredients
4 to 5 large carrots, peeled and cut into sticks or coins
2 cloves garlic, smashed
1 tsp whole black peppercorns
1 tsp dill seeds or caraway seeds (optional)
Fresh dill sprigs (optional)
1 tbsp non-iodized sea salt
2 cups filtered water
Method
1. Make the brine Dissolve the sea salt completely in the filtered water. Non-iodized salt is essential — iodine inhibits the beneficial bacteria you are trying to cultivate.
2. Pack the jar Place garlic, peppercorns, and dill seeds in the bottom of a clean wide mouth quart jar. Pack the carrot sticks in tightly standing upright — they need to stay submerged under the brine and packing them tightly helps keep them down. Tuck fresh dill sprigs in alongside if using.
3. Add the brine Pour the salt brine over the carrots until completely submerged with at least 1 inch of brine above them. Leave 1 inch of headspace at the top.
4. Weigh down and cover Place a small zip-lock bag filled with brine on top to keep the carrots submerged. Cover loosely with a cloth secured with a rubber band — do not seal airtight. The fermentation produces gas that needs to escape.
5. Ferment Leave at room temperature away from direct sunlight for 3 to 5 days. Taste starting on day 3. When pleasantly tangy and slightly effervescent they are ready. Seal and refrigerate. They keep for months and get more complex as they age.
Notes
A white film on the surface is kahm yeast — harmless, just skim it off. Any pink or fuzzy mold that is not white means something went wrong — discard and start again. Keep everything under the brine and you will be fine.
Fermented carrots are crunchy, bright, tangy, and deeply satisfying alongside any rich meal. The beneficial bacteria support gut health and digestion in ways that fresh carrots alone do not.
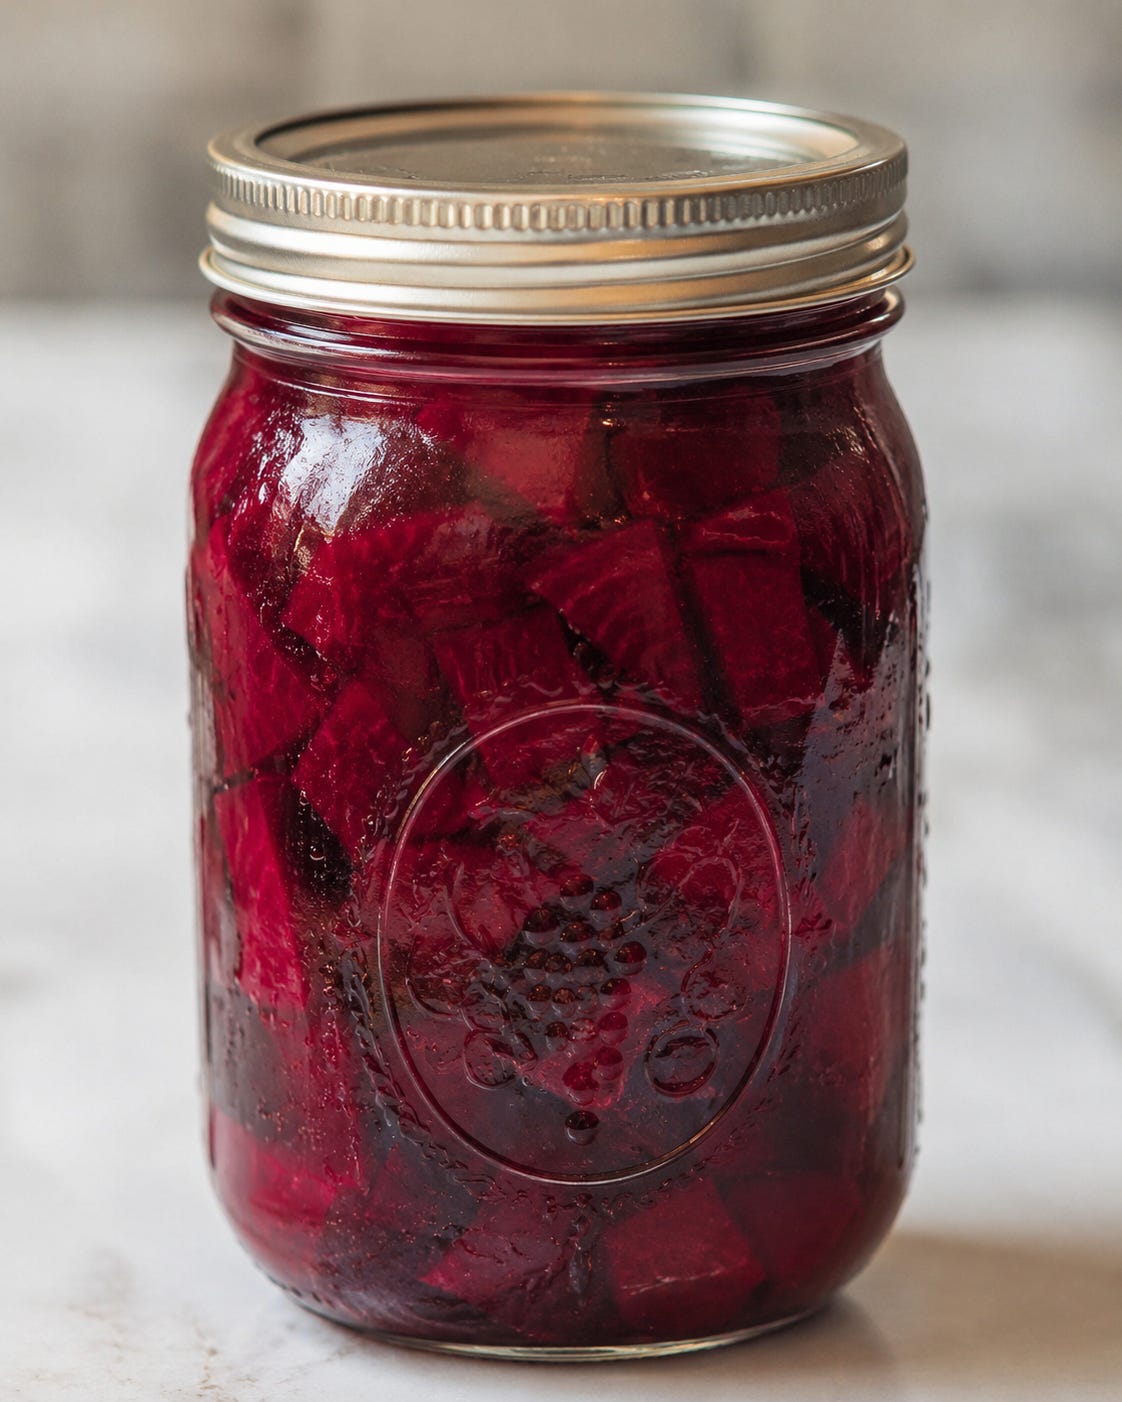
Fermented Beets Makes 1 quart jar — Begin 3 to 5 days before serving
Ingredients
3 to 4 medium beets, peeled and cut into thin matchsticks or coins
1 tsp whole black peppercorns
1 inch fresh ginger, sliced (optional but wonderful)
1 tbsp non-iodized sea salt
2 cups filtered water
Method
1. Make the brine Dissolve sea salt completely in filtered water.
2. Pack the jar Place peppercorns and ginger in the bottom of a clean wide mouth quart jar. Pack the beet pieces in tightly. Beets are denser than carrots and pack down well — press them in firmly.
3. Add the brine Pour brine over the beets until completely submerged with at least 1 inch above. Leave 1 inch headspace at the top. The beet juice will begin turning the brine a deep crimson almost immediately — this is completely correct and beautiful.
4. Weigh down and cover Weigh the beets down with a zip-lock bag filled with brine. Cover loosely with a cloth — do not seal airtight.
5. Ferment Leave at room temperature away from direct sunlight for 3 to 5 days. Beets ferment slightly faster than carrots because of their natural sugar content — start tasting on day 2. When pleasantly tangy and earthy they are ready. Seal and refrigerate.
Notes
Your hands will turn deep crimson when handling the beets. This is temporary and completely normal. Your cutting board may also stain — work on parchment or a board you do not mind coloring.
The fermented beet brine is extraordinary — drink it straight or add a splash to salad dressing. It is deeply mineral, slightly sweet, tangy, and one of the most nourishing things you can put in a glass. The Amish called this kind of preserved vegetable liquid a tonic. They were right.
Fermented beets support liver health, blood pressure, and athletic endurance — the natural nitrates in beets combined with the beneficial bacteria from fermentation make this one of the most genuinely functional foods you can make at home.
Start both jars at the same time and serve them together — the crimson beets and the bright orange carrots side by side are one of the most beautiful things you can put on a table.
Notes on fermentation
A white film on the surface is kahm yeast — harmless, just skim it off. Any pink or fuzzy mold that is not white means something went wrong — discard and start again. The most common reason ferments fail is vegetables that were not fully submerged. Keep everything under the brine and you will be fine.
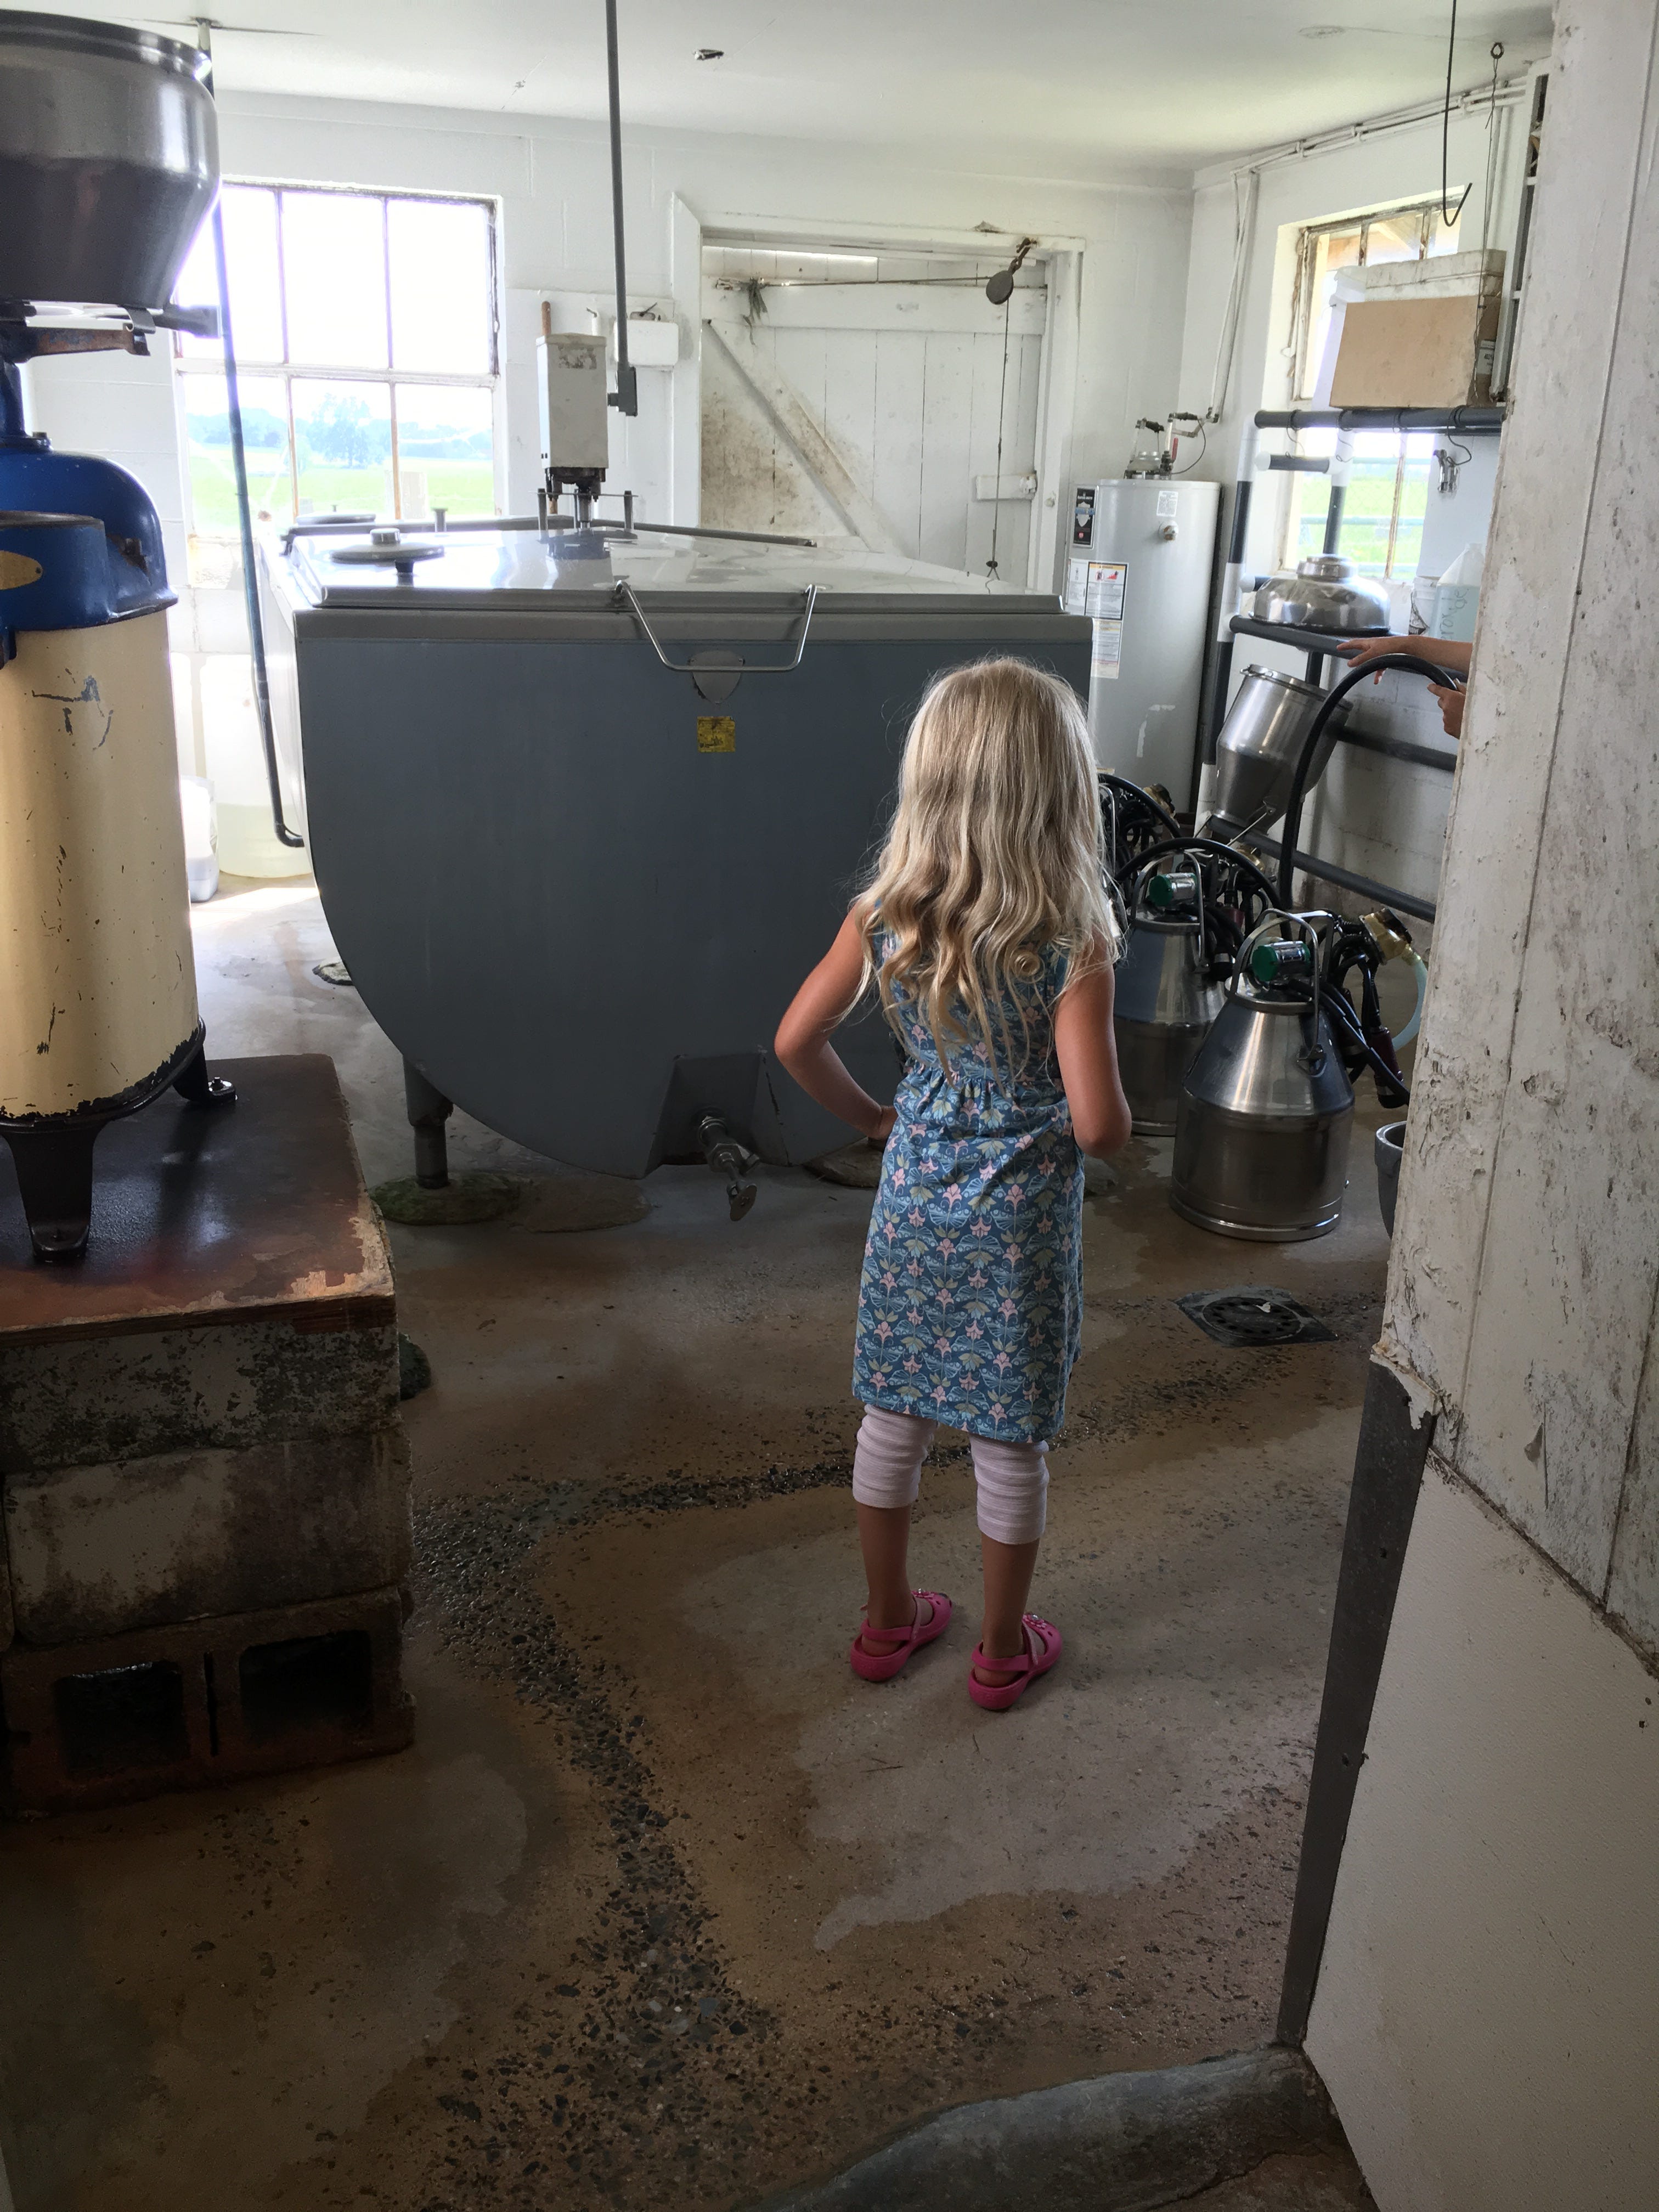
Raw Cheese
Serve a good raw milk cheddar or raw milk Gouda alongside the bread and soup. Raw cheese — made from unpasteurized milk — retains the living enzymes, beneficial bacteria, and full nutritional profile that pasteurization destroys. Make sure it’s made from animal rennet. Did you know Pfizer owns rennet in regular cheese? Suspicious…! In many states you can buy raw milk cheese at the farm itself. It tastes completely different from pasteurized cheese — sharper, more complex, more alive. Once you eat real raw cheese it is difficult to go back.

Shoofly Pie The most distinctly Amish dessert — made with whole grain flour and molasses
Makes one 9-inch pie
Shoofly pie is unlike anything else. Deeply molasses-forward, slightly sticky in the center, with a crumbly whole grain topping and a butter crust. It is called shoofly pie because the sweetness of the molasses filling attracts flies that need to be shooed away while it cools. It originated in Pennsylvania Dutch country and has been on Amish tables for over two centuries. It is traditionally eaten for breakfast with coffee — which tells you everything you need to know about the Amish relationship with food.
Molasses is extraordinarily mineral dense — iron, calcium, magnesium, potassium — and there is no better proof of that than watching a freshly kidded goat drink it down. We always gave our milk goats a bowl of warm water with a tablespoon or two of blackstrap molasses stirred in right after they gave birth. They would drink it so fast, every drop, without hesitation. Their bodies knew exactly what they needed and went straight for it. It is one of the most instinctive things I have ever watched an animal do — and it says everything about what molasses actually is. Not just a sweetener. A restorer.
Ingredients — The Crust
1 1/4 cups freshly milled whole wheat flour
1/2 tsp sea salt
1/2 tsp sucanat or raw sugar
8 tbsp cold unsalted butter, cut into cubes
3 to 4 tbsp ice cold water
Ingredients — The Crumb Topping
1 cup freshly milled whole wheat flour
1/2 cup sucanat or brown sugar
1/4 tsp cinnamon
1/4 tsp nutmeg
1/4 tsp sea salt
4 tbsp cold butter, cut into small pieces
Ingredients — The Molasses Filling
1 cup unsulfured blackstrap molasses
3/4 cup boiling water
1 tsp baking soda
1 large egg, lightly beaten
Method
1. Make the crust Combine flour, salt, and sucanat in a food processor. Add cold butter and pulse until the mixture resembles coarse crumbs with pea-sized pieces. Add ice water a tablespoon at a time until the dough just comes together. Press into a disc, wrap, and refrigerate 30 minutes. Roll out and press into a 9-inch pie dish. Crimp the edges.
2. Make the crumb topping Combine flour, sucanat, cinnamon, nutmeg, and salt in a bowl. Add cold butter pieces and work with your fingers until the mixture looks like coarse sandy crumbs. Set aside.
3. Make the filling Dissolve the baking soda in the boiling water. Add the molasses and beaten egg and whisk until completely combined. The mixture will foam slightly from the baking soda — this is correct.
4. Assemble Preheat oven to 375°F. Pour the molasses filling into the unbaked pie crust. Scatter the crumb topping evenly over the top — cover the filling completely.
5. Bake Bake 35 to 40 minutes until the topping is set and golden and the filling is just barely jiggly in the very center. It will firm up as it cools. Cool completely before slicing — at least 1 hour.
Serve with a dollop of fresh whipped cream or a slice of raw cheddar alongside. The combination of sweet molasses pie and sharp raw cheese is very traditional and completely extraordinary.
Notes
Blackstrap molasses is the most nutritious variety — it retains the highest concentration of iron, calcium, magnesium, and potassium of any molasses.
Sucanat — unrefined whole cane sugar — retains the molasses and minerals that white sugar has had processed out. It is the right sweetener for this pie and gives the crumb topping a deeper, more complex flavor.
Whole grain flour in the crust and topping gives this pie a nuttiness and substance that white flour cannot replicate. Let the crust rest after pressing it into the pan before filling — whole grain needs a little more time to hydrate than white flour.